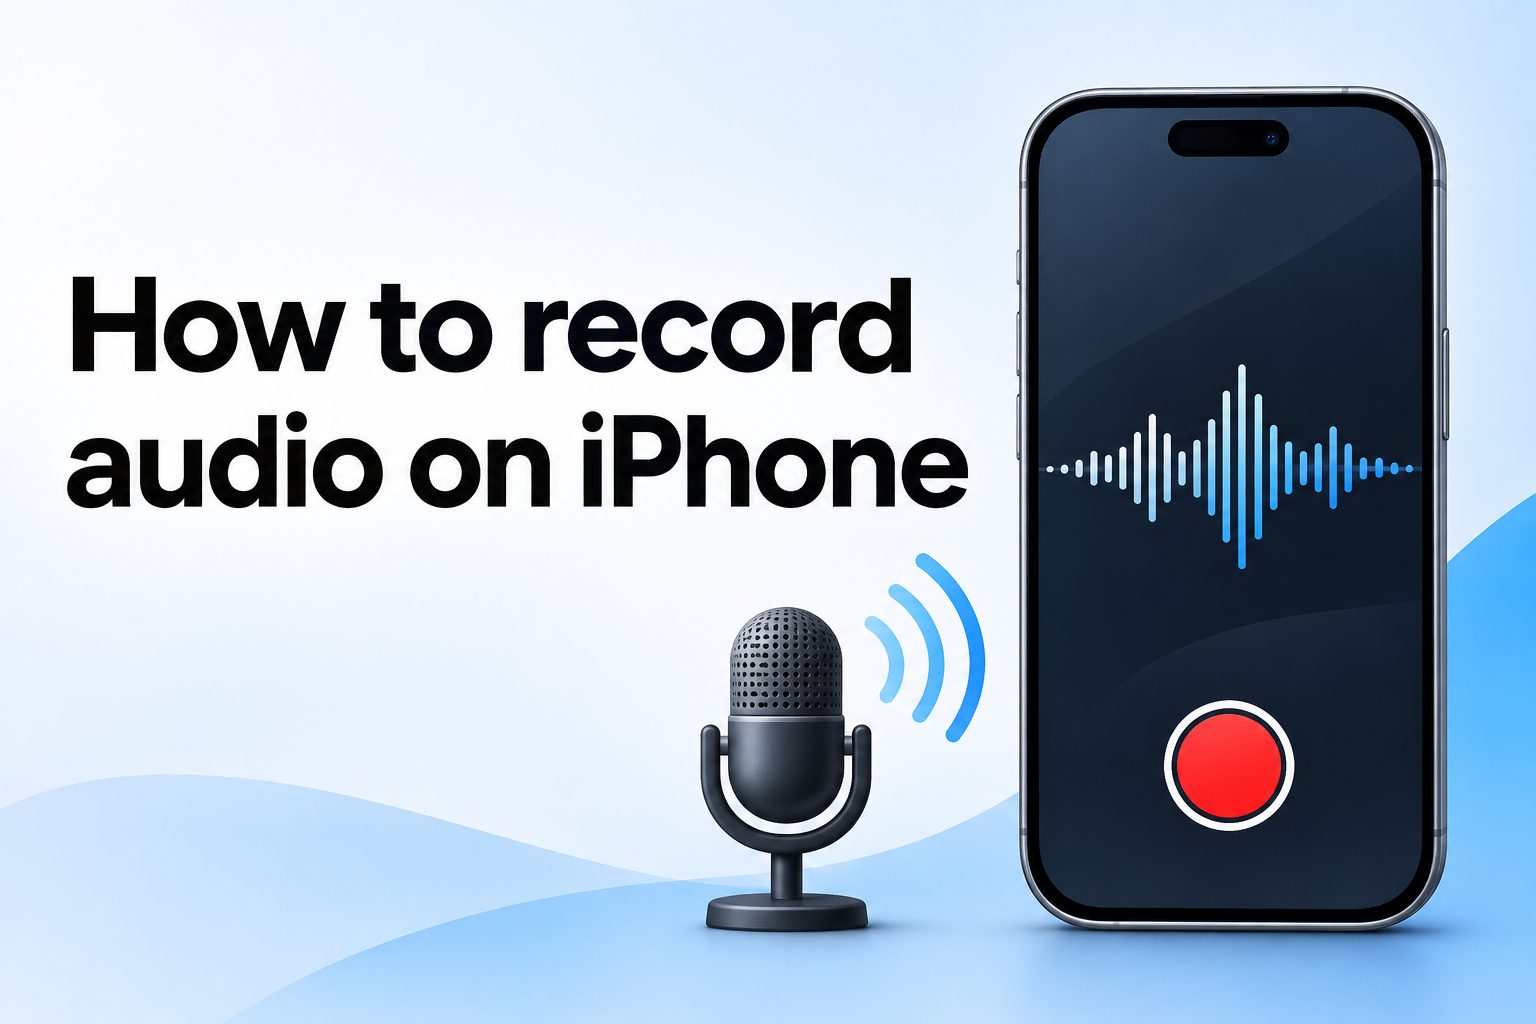
Learning how to record audio on iPhone is useful for capturing lectures, interviews, ideas, meetings, music practice, and personal reminders without carrying extra equipment. Your iPhone already includes reliable recording tools, and a few simple habits can make the result much clearer.
The built-in Voice Memos app is usually the quickest choice for everyday recordings. You can start, pause, trim, rename, organize, and share files directly from your phone. For more complex projects, other apps and external microphones can offer extra control.
This guide explains the basic recording process, ways to improve sound quality, common problems to avoid, and practical situations where iPhone audio recording works especially well. It also covers privacy considerations, file management, and answers to common questions.
Before recording, decide what you need the audio for. A short spoken reminder does not need the same setup as an interview, a class lecture, or a musical performance. Your purpose affects where you place the phone, how long you record, and whether you need an external microphone.
Most iPhones include the Voice Memos app, which records through the phone’s built-in microphones. Open the app, tap the red Record button, and speak or capture the sound. Tap the same button again when you want to stop the recording.
After stopping, Voice Memos saves the file automatically. You can tap its name to play it back, rename it with a useful description, trim unwanted sections, or use the share option to send a copy through an available service or save it elsewhere.
For a cleaner result, put the iPhone close enough to the speaker without covering its microphones. Keep the bottom edge and rear microphone area clear, reduce nearby noise, and avoid placing the phone on a surface that vibrates or echoes heavily.
Always listen to the first few seconds of an important recording. This quick check helps you catch low volume, rustling, background noise, or a blocked microphone before you lose the chance to record the moment again.
How Do You Record Audio on an iPhone?
Open Voice Memos
Find Voice Memos on your Home Screen or through search, then open it before the event begins. Give yourself a moment to confirm that the app is ready and that you are viewing the main recording screen. This prevents rushed setup when someone starts speaking.
Check Available Storage
Audio files can become large during long lectures, interviews, or rehearsals. Check that your iPhone has enough free storage before recording an important session. If space is limited, remove unneeded downloads or transfer older recordings after confirming that they are safely backed up.
Position the iPhone Carefully
Place the phone close to the main sound source, ideally within a few feet for normal speech. Point the bottom of the iPhone toward the speaker when practical, and do not hold it so tightly that your hand covers a microphone or creates handling noise.
Start the Recording
Tap the red Record button in Voice Memos to begin capturing sound. The moving waveform and timer show that recording is active. In a quiet test, speak a few normal sentences and watch for visible waveform movement before relying on the recording.
Pause When Needed
Use the pause control if there is a planned break, a private discussion, or a long gap with no useful audio. Pausing keeps one continuous file while removing unnecessary silence. Remember to resume before the next important point begins.
Stop and Review the File
Tap the stop control when you finish, then play back a short portion through your phone speaker or headphones. Confirm that voices are understandable and that the beginning and ending were captured. Rename the file immediately so it is easier to find later.
What Affects iPhone Audio Recording Quality?
1. Distance from the speaker matters more than most settings. Moving the iPhone closer usually improves voice clarity and reduces the proportion of room noise in the recording.
2. A quiet location produces better audio than a large echoing room. Close doors and windows when possible, silence nearby devices, and ask people not to shuffle papers near the phone.
3. Microphone placement affects balance. For two people, set the iPhone between them rather than directly beside one person, unless one voice is intentionally the focus.
4. Cases, fingers, fabric, and loose objects can block microphone openings or cause rubbing sounds. Keep the phone clear and stable while recording.
5. Wind can overwhelm built-in microphones outdoors. Use a sheltered spot, turn your body into a windbreak, or use a compatible external microphone designed for outdoor recording.
Benefits of Recording Audio on an iPhone
- Fast Access: Your phone is usually already with you, so you can capture an idea or conversation quickly without setting up separate recording equipment.
- Simple Editing: Voice Memos lets you trim obvious mistakes, long pauses, and unwanted beginnings or endings without needing advanced audio software.
- Easy Organization: Clear file names, folders, and search tools help you keep lectures, interviews, notes, and personal recordings separated and easier to revisit.
- Portable Sharing: Once a recording is complete, you can send a copy to a collaborator, save it to a cloud service, or move it to another device when needed.
- Useful Backup: An audio recording can preserve details that handwritten notes miss, including exact wording, tone, questions, and spontaneous ideas.
- Flexible Quality Options: The built-in microphone works well for many tasks, while headphones or an external microphone can improve results for interviews, narration, and music.
How Can You Improve iPhone Audio Recordings?
Make a Short Test Recording
Record ten to twenty seconds before a major session and play it back. Listen for distant voices, air conditioners, traffic, buzzing, and handling noise. A small adjustment to the phone’s location can solve problems that would otherwise affect the entire recording.
Use Headphones for Playback
Phone speakers can hide low-level hiss, clicks, and uneven volume. Listening through headphones after recording gives you a more accurate sense of the file. It is especially helpful when you need to decide whether an interview or lecture should be recorded again.
Choose a Stable Surface
Set the iPhone on a solid, non-vibrating surface when possible. A folded cloth or small stand can reduce vibration from tables, typing, and movement. Avoid placing the phone beside a laptop fan, drink cup, or stack of papers that may shift.
Reduce Echo Around the Speaker
Hard, empty rooms make voices sound distant because sound reflects from walls and ceilings. Move closer to the speaker, choose a smaller furnished room, or record near soft materials such as curtains and upholstered furniture to make speech sound more direct.
Use an External Microphone When Necessary
For professional interviews, videos, podcasts, or music, a compatible external microphone can provide stronger and more focused sound than the built-in microphones. Test compatibility and levels in advance, and keep the microphone close to the person speaking.
Save and Label Important Files Promptly
Rename recordings with a date, subject, and speaker or project name as soon as you stop recording. This simple habit prevents confusion when several files have similar default names. Back up especially important recordings before editing or sharing them.
Recording audio on an iPhone is straightforward once you know where to start. Voice Memos handles most everyday needs, from quick notes to longer conversations, and it gives you basic editing and sharing tools without extra setup.
Good results depend less on complicated settings and more on preparation. Check storage, place the iPhone close to the sound source, keep microphones clear, and make a short test recording whenever the audio matters.
Use clear names and safe backups for recordings you may need later. With thoughtful placement and respectful permission practices, your iPhone can become a dependable audio recorder for work, study, and daily life.
FAQs About Recording Audio on iPhone
Can I record audio on iPhone with the screen locked?
Yes. After you start a recording in Voice Memos, the recording can generally continue while the screen locks. Check the active timer before putting the phone away, and avoid closing the app or stopping the recording accidentally during an important session.
Where do iPhone audio recordings go after I stop?
Recordings made in Voice Memos are saved inside the Voice Memos app automatically. You can rename, edit, organize, play, or share them from there. For important files, create a separate backup through one of the sharing or storage options available on your device.
Can I record a phone call on my iPhone?
Call-recording options depend on your iPhone, region, carrier, and software features. Laws and consent requirements also vary by location. Before recording any call, tell all participants when required and make sure you have permission to record the conversation.
Why does my iPhone recording sound quiet?
A quiet recording often means the iPhone was too far from the speaker, the microphone opening was covered, or the room was noisy and echoing. Move closer, keep the phone unobstructed, reduce background noise, and test a short sample before recording again.
How long can an iPhone record audio?
An iPhone can record for a long time as long as it has sufficient battery power and available storage. The exact duration varies with file settings and phone capacity. For a long session, charge the phone, free space beforehand, and check the recording periodically.
Can I edit a Voice Memos recording after saving it?
Yes. Voice Memos provides basic editing features that let you trim unwanted portions from the beginning or end and replace a section in some situations. Work on a copy if the original is important, because editing can make it harder to recover removed audio later.